Want to get the most out of your LG Smart TV’s streaming capabilities? Changing the DNS server settings can help improve your internet speed, provide access to geo-blocked content, and boost overall connection stability. Also, by customizing these settings, you can potentially reduce buffering issues, improve streaming quality, and gain access to a wider range of online content. This guide provides comprehensive instructions for changing the DNS server settings on LG TV models running various versions of webOS and NetCast models.
Purpose of Changing the DNS Server on the LG TV
Adjusting the DNS server settings on your LG Smart TVs can resolve issues with streaming services, improve connection speeds, and bypass regional content restrictions. A different DNS server can enhance your overall viewing experience by addressing connectivity problems or providing access to geo-restricted content.
How to Change DNS Server on LG TV
As the steps for changing the DNS server are different for each webOS, locate your software version and get the respective steps.
webOS 6.0 or Later
If you have an LG TV launched in 2021 or later, you can follow the steps below to change the DNS server.
- Start by navigating to the LG TV Home Screen and press the Settings button on the remote.
- Select All Settings (three vertical dots) and go to General Settings.
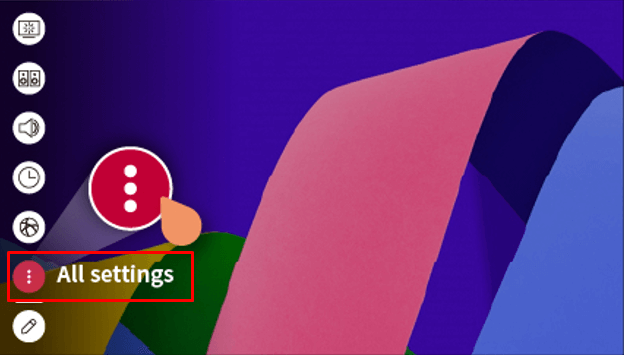
- Click on the Network section and select Internet Connection.
- Choose Wired Connected (Ethernet) or WiFi Connection, depending on your setup.
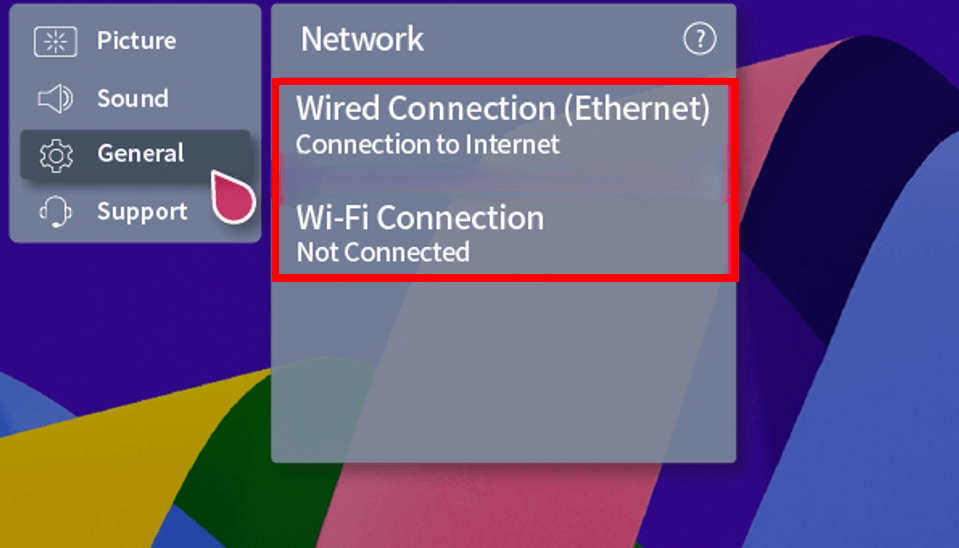
- Finally, hit the Edit option and change the DNS server, then click on Connect.
webOS 5.0
- From the Home Screen, go to Settings by pressing the Gear icon on your LG TV remote.
- Go to the All Settings section and select Connection.
- Click on Network Connection Settings and choose your WiFi connection.
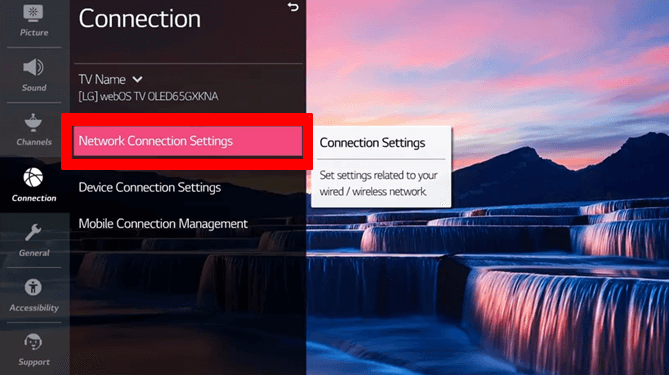
- Select the Edit option, then manually change to your preferred DNS Server.
webOS 4.5
You can change DNS settings on your LG TV webOS 4.5 or later (released between 2018 and 2019) by following the steps below;
- On the Home Screen, press Settings to launch the Settings menu.
- Now, select the Three vertical dots to access the All Settings menu.
- Scroll to the Connections settings and select your WiFi Network.
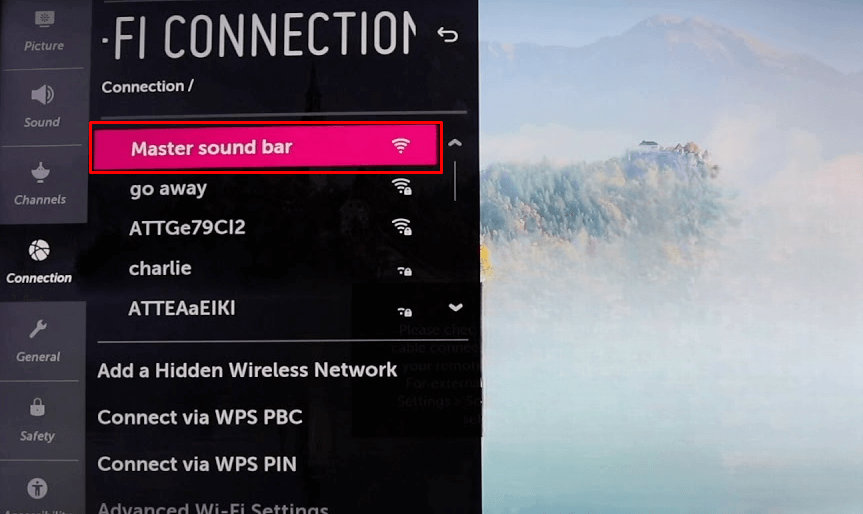
- Choose the option Edit and input your preferred DNS server, then save the changes.
webOS 4.0
- Begin by going to the Home Screen and pressing the Settings button on your remote.
- Bring out the All Settings menu by selecting Three vertical dots.
- Navigate to Network settings and select your WiFi network.
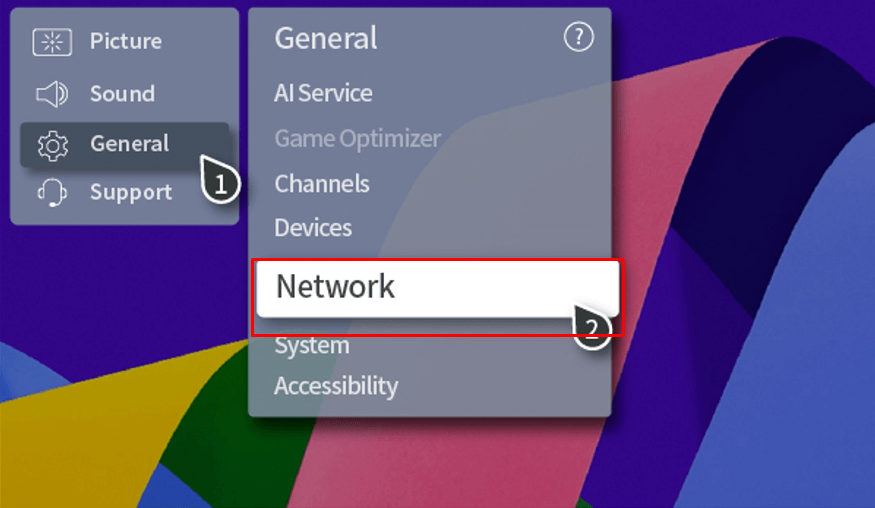
- Choose the Edit option to manually enter your preferred DNS server address and save your applied changes.
IMPORTANT! After modifying the DNS settings, it is crucial to restart your LG TV to save the changes and take effect.
How to Change DNS Server on LG NetCast TV
If your LG Smart TV is running on NetCast OS, then follow the below prompts to switch the DNS.
- Hit the Settings button on your LG remote control and select Network.
- Choose Network Connection and select the Start Connection option.
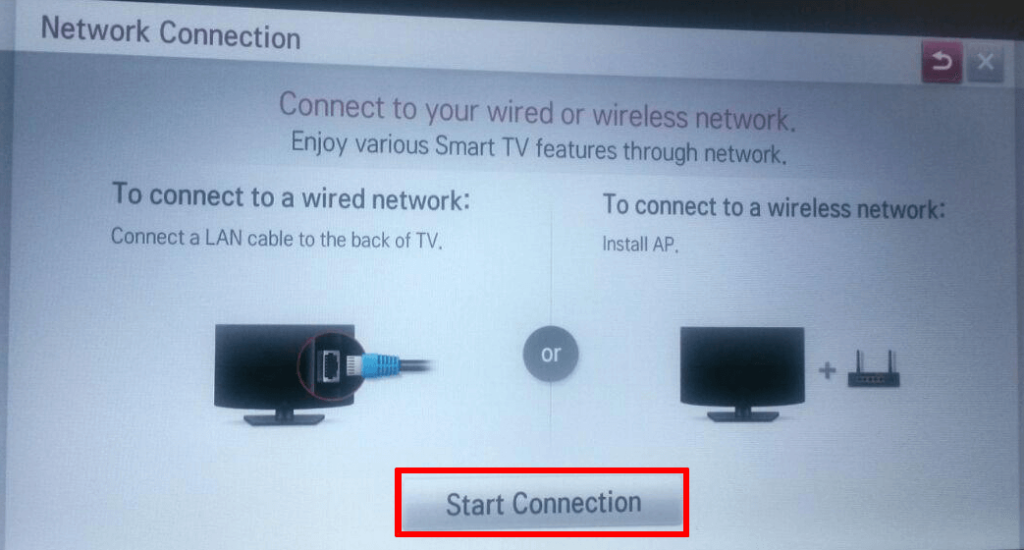
- Pick up either Wired or Wireless and choose Other Network List.
- Choose your preferred network and select Set Expert.
- Switch to Manual Input from the DNS Mode.
- Enter the server address in the DNS Server field and hit OK.
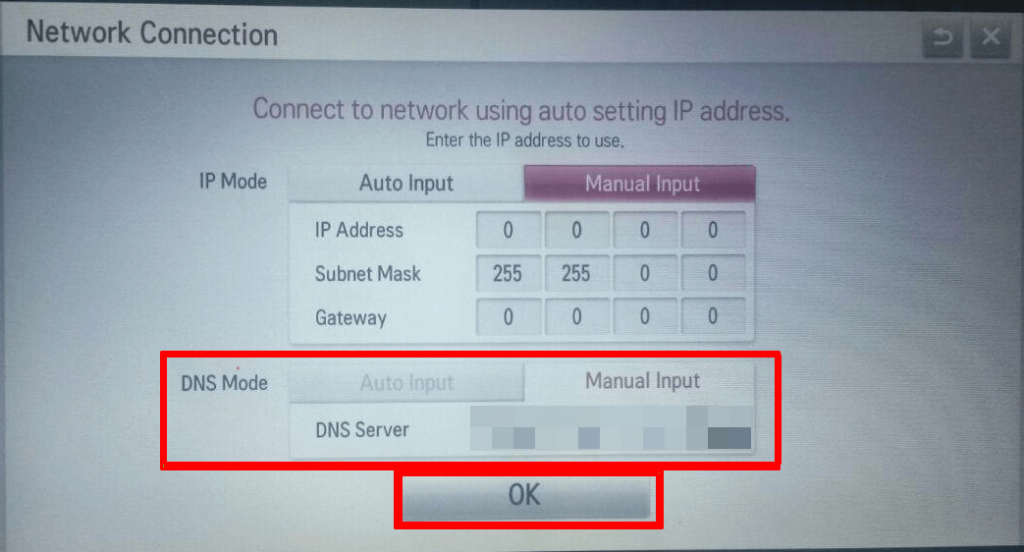
- Select Complete.
Finally, after configuring the DNS server manually, you can watch your desired content hassle-free. In the meantime, if you face any issues while changing the DNS server, reach out to my community forum and gain valuable insights.
FAQ
Some of the best DNS servers to use for an LG TV include Google’s DNS (8.8.8.8 and 8.8.4.4) for reliable performance and Cloudflare’s DNS (1.1.1.1) for faster speeds and enhanced privacy. OpenDNS (208.67.222.222) is another good option for content filtering and security.
If your TV loses connection after changing the DNS settings, try reverting to the default DNS or restarting your TV and router. You can also check if the new DNS address was entered correctly and is compatible with your network.