Surfshark is a secure VPN service that can mask your device’s IP address and protect it from malicious ads and data leaks. It is ideal for LG TVs, which use AES-256 encryption tools, such as OpenVPN, IKEv2, and ChaCha20 for WireGuard. LG Smart TV runs on webOS, which doesn’t natively support VPN apps, including Surfshark. Fortunately, you can still set up Surfshark VPN manually by adding Smart DNS to the TV’s network settings. Optionally, you can set up a VPN connection on a WiFi router and connect your LG TV to that network.
This guide demonstrates two methods for configuring Surfshark on TVs powered by webOS.
Possible Ways to Access Surfshark on LG TV
Before you start, buy a Surfshark subscription from its website, which costs $15.45/month. Then, try one of the ways to set up a VPN connection on your LG TV.
Configure Surfshark on LG TV via WiFi Router
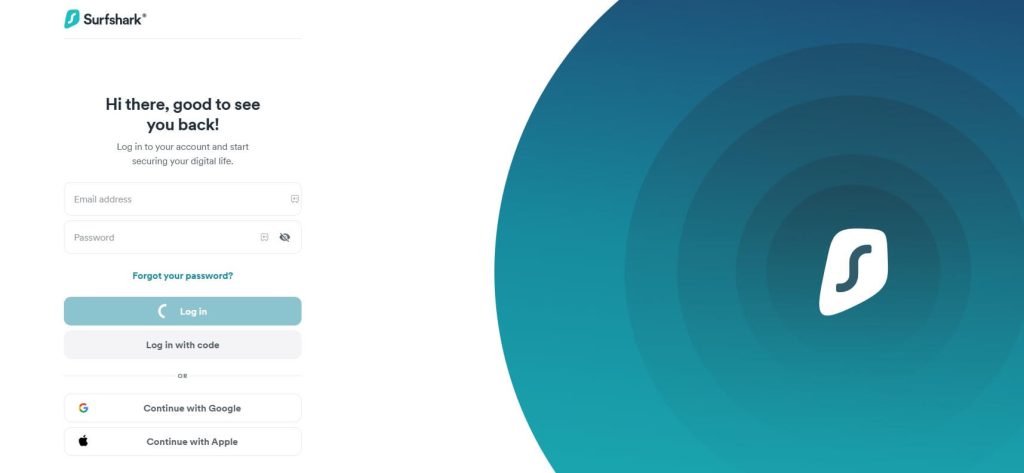
1. Visit the Surfshark website (https://surfshark.com) and log in with your account.

2. On the left side menu, tap Manual setup and click Locations.
3. Choose the desired server and click the Download icon. From the Download files pop-up, select the Download UDP option to get the configuration file.
4. Open a new tab on a browser and visit your router’s default gateway. If you don’t know the address, enter one of these addresses and visit it.
- 192.168.1.1
- 192.168.100.1
- 192.168.0.1
5. Sign in to your router’s login page. Then, click the VPN tab on the left pane of the page.
6. Tap VPN Client, click Add profile, and select the OpenVPN tab.
7. In the description box, enter your VPN profile’s name. Enter the username and password shown in the Surfshark manual setup method.
8. Tap the Choose File drop-down option and import the file that you have downloaded in step 3. Then, click OK to add the profile to a VPN server list.
9. Tap Activate to establish a VPN connection. Now, connect your LG TV to a WiFi router.
Configure Surfshark on LG TV using Smart DNS
1. Visit the Surfshark Smart DNS website (my.surfshark.com/vpn/smart-dns).
2. Login with your registered credentials to view the Smart DNS addresses.
3. If you can’t see any addresses there, tap the Activate Smart DNS button to activate it. After a few moments, you will see the generated Smart DNS addresses.
Note: Remember that Smart DNS can only be activated for one IP address.
4. Go to Network Settings on your LG Smart TV.
5. Select WiFi or Wired Connection based on the connection.
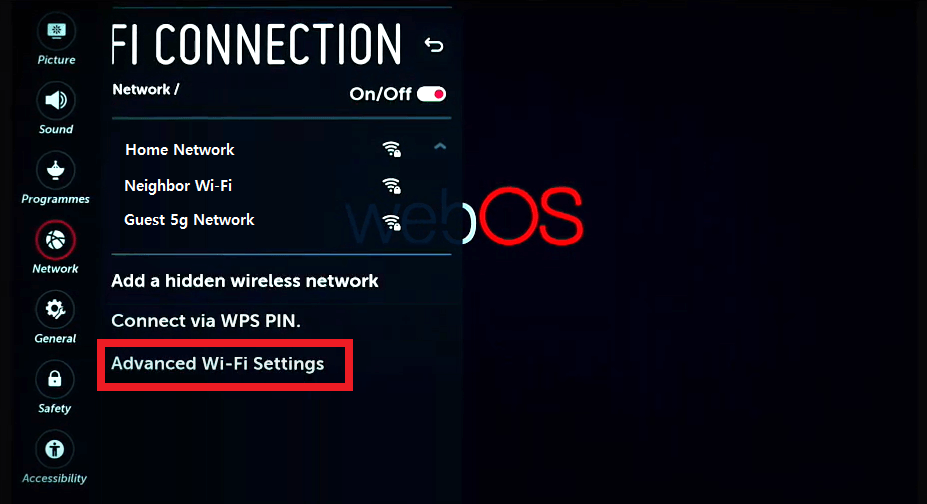
6. Go to Advanced WiFi Settings or Ethernet and tap the Edit button.

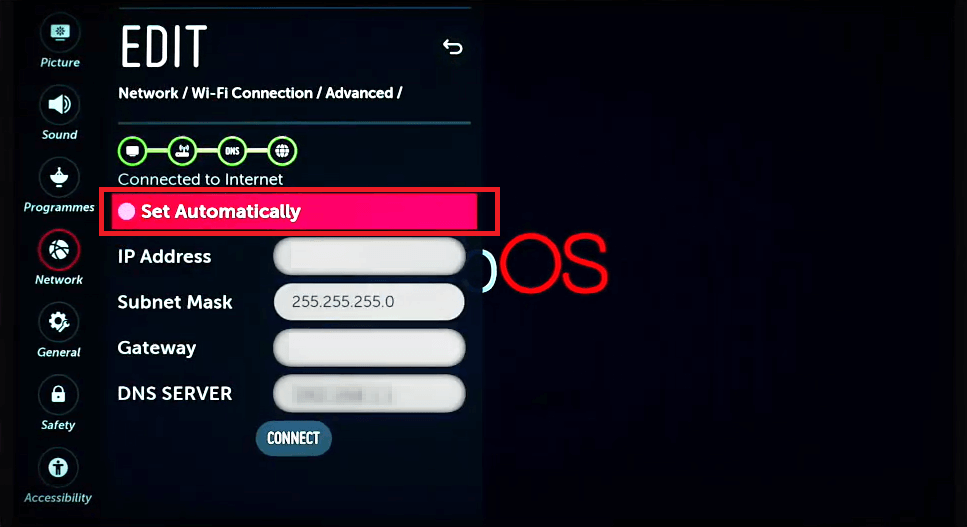
7. Uncheck the Set Automatically check box. Type the Smart DNS server address and tap Enter on the on-screen keyboard.

8. Finally, click Connect to set up a VPN connection.
If your LG TV has a slow internet connection, ask your ISP to inspect the router and fix the issue. For other LG TV-related queries, visit my community forum and post your questions there.